To get started, please ask us to enable this for you by raising a support request here.
Now that you're ready to start configuring your monitoring checks, lets get started:
1) Login to our client portal and navigate to 'Services' -> 'Server Monitoring' in the top level menu as shown below:
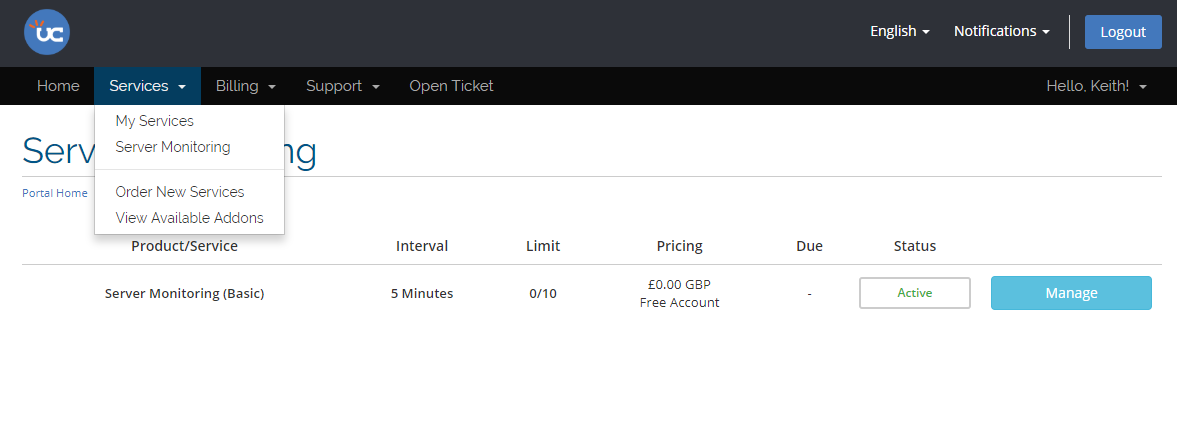
As you can see from the above image, this page will tell you the lowest interval you're allowed to set a check for on the free package, the amount of checks you're allowed and the price you pay for the service.
2) Now, you can click manage to begin configuring checks. At this point, you'll be presented with the following page:
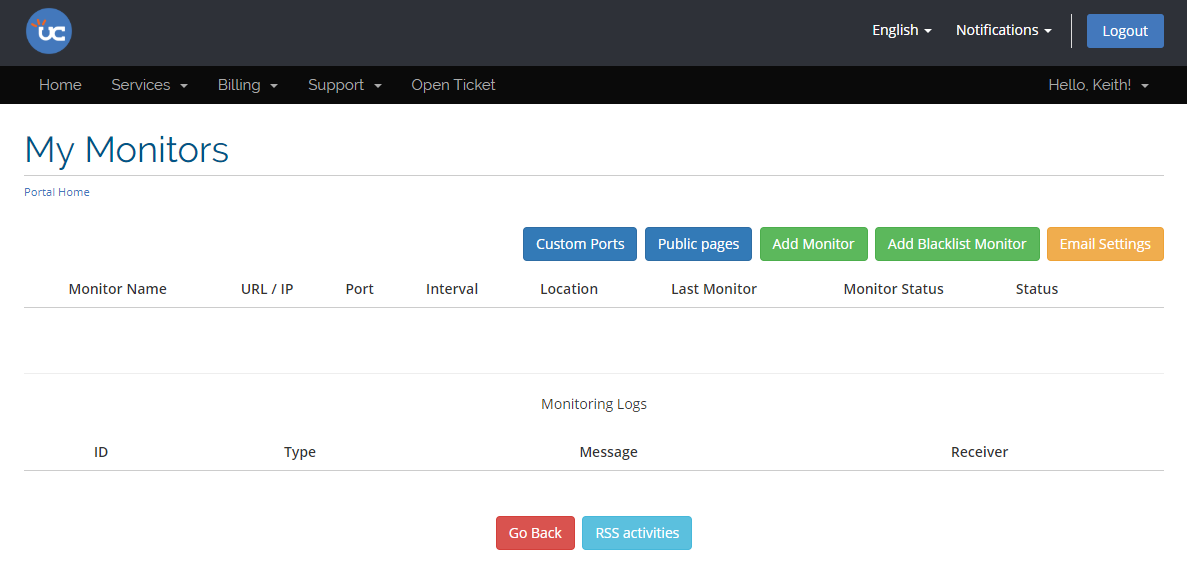
3) Click the 'Add Monitor' button to add your first monitored check:
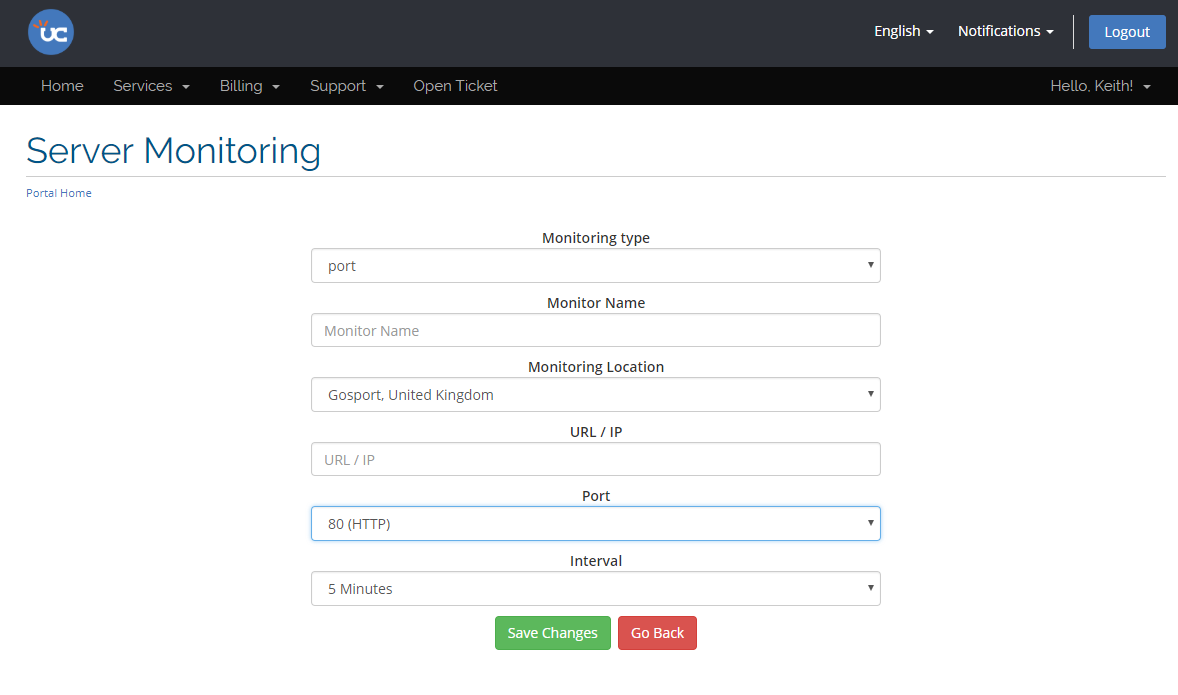
As you can see above, you get options to select the type of check you want, be it 'port' or 'keyword' along with the name of the check (we recommend a unique name), monitoring location, URL or IP address, port and interval. Once you have selected your preferred settings, please click 'Save Changes'. At this point, it'll take around 1 minute before you start seeing statistics related to the check.
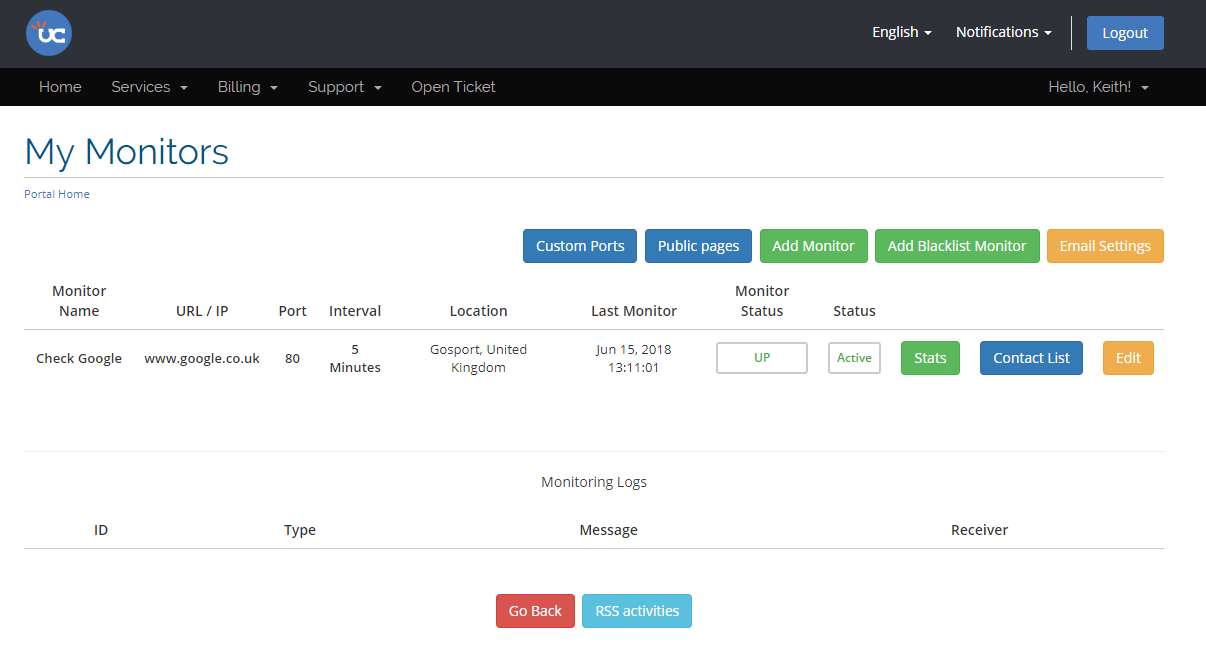
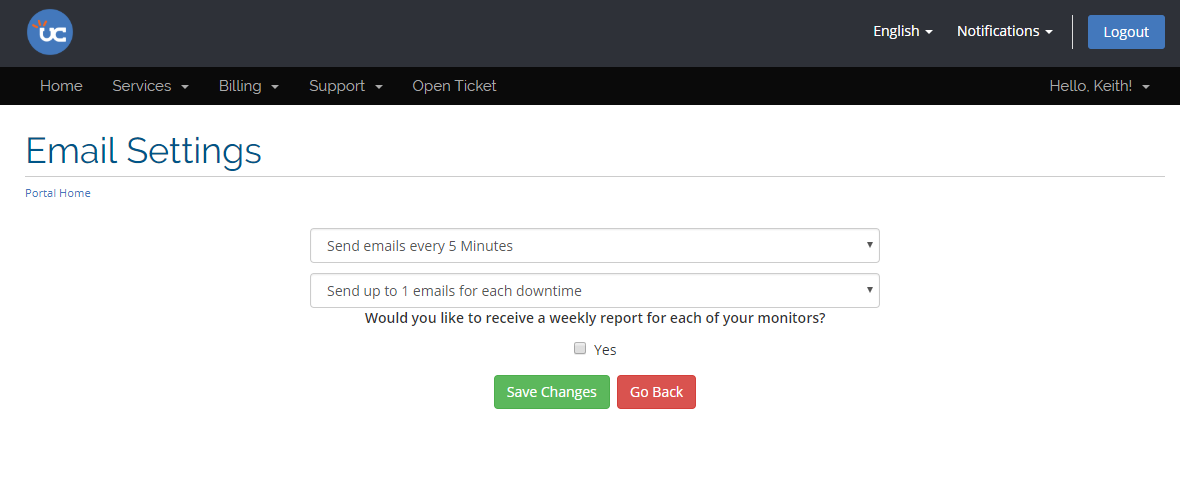
4) Once the first polling has taken place, you can now think about configuring e-mail alerts and e-mail reports by clicking the 'Email Settings' button. These will alert you of any downtime and also provide you with regular weekly uptime reports about the monitored services.
5) Select the best settings for you and click 'Save Changes'.
6) At this point - you may wish to create a public page that you can share with customers and colleagues. To configure this page, simply click the 'Public Pages' button on the main page of the monitoring service, you will then be presented with the following options:
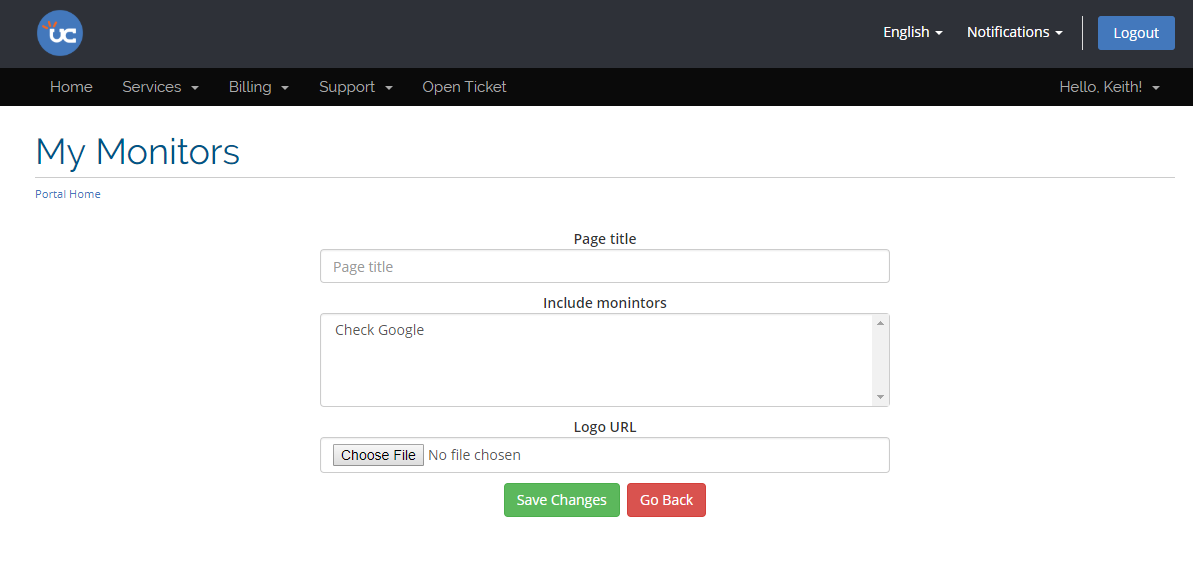
Set a title for the public monitoring page combined with the checks you wish to display on the page and then choose a logo for your page. After this, click 'Save Changes'.
7) You'll then see a summary page with your public pages (please note, you can create multiple public pages which can be shared with different groups of people):
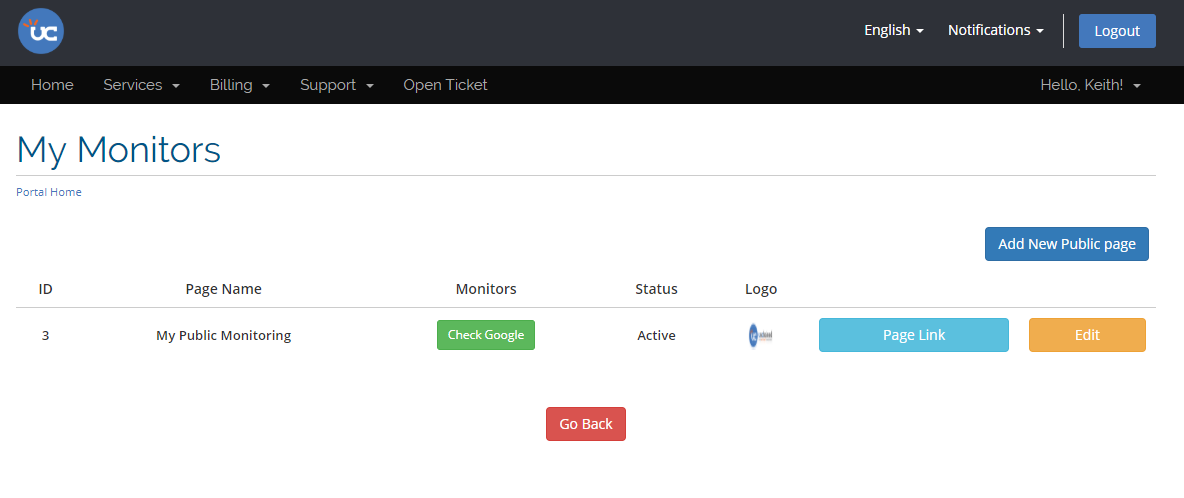
8) Finally, lets click the 'Page Link' button as shown above to see what your page looks like!
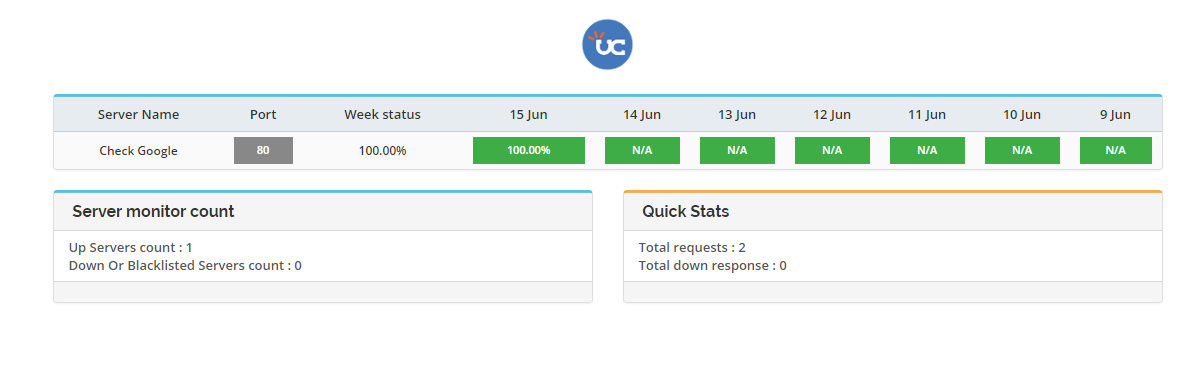
And there you have it! If you have any questions, please don't hesitate to get in touch with us.